
June 26, 2026
Everything That Goes Into a Professional Car Photo Shoot
One of the questions I'm asked most often is, "Why does a professionally photographed car look so different from the pictures I take with my phone?"
The answer isn't the camera-it's everything that happens before I press the shutter. It's preparation. Before I ever press the shutter, I've already spent time thinking about the location, the light, the reflections, and what makes that particular vehicle unique.
Whether you own a weekend supercar, a cherished collector's piece, or simply want to document a friend's exotic car at a local meet, investing in a professional car photo shoot can yield stunning results that far surpass a quick mobile snapshot. I've spent time working around everything from everyday muscle cars to Italian exotics, and the thing that always surprises newcomers is how much invisible work goes into a single frame. Good car photography is the result of pre-shoot preparation, mastery of light, deliberate composition, and careful post-production editing, not just the vehicle itself.
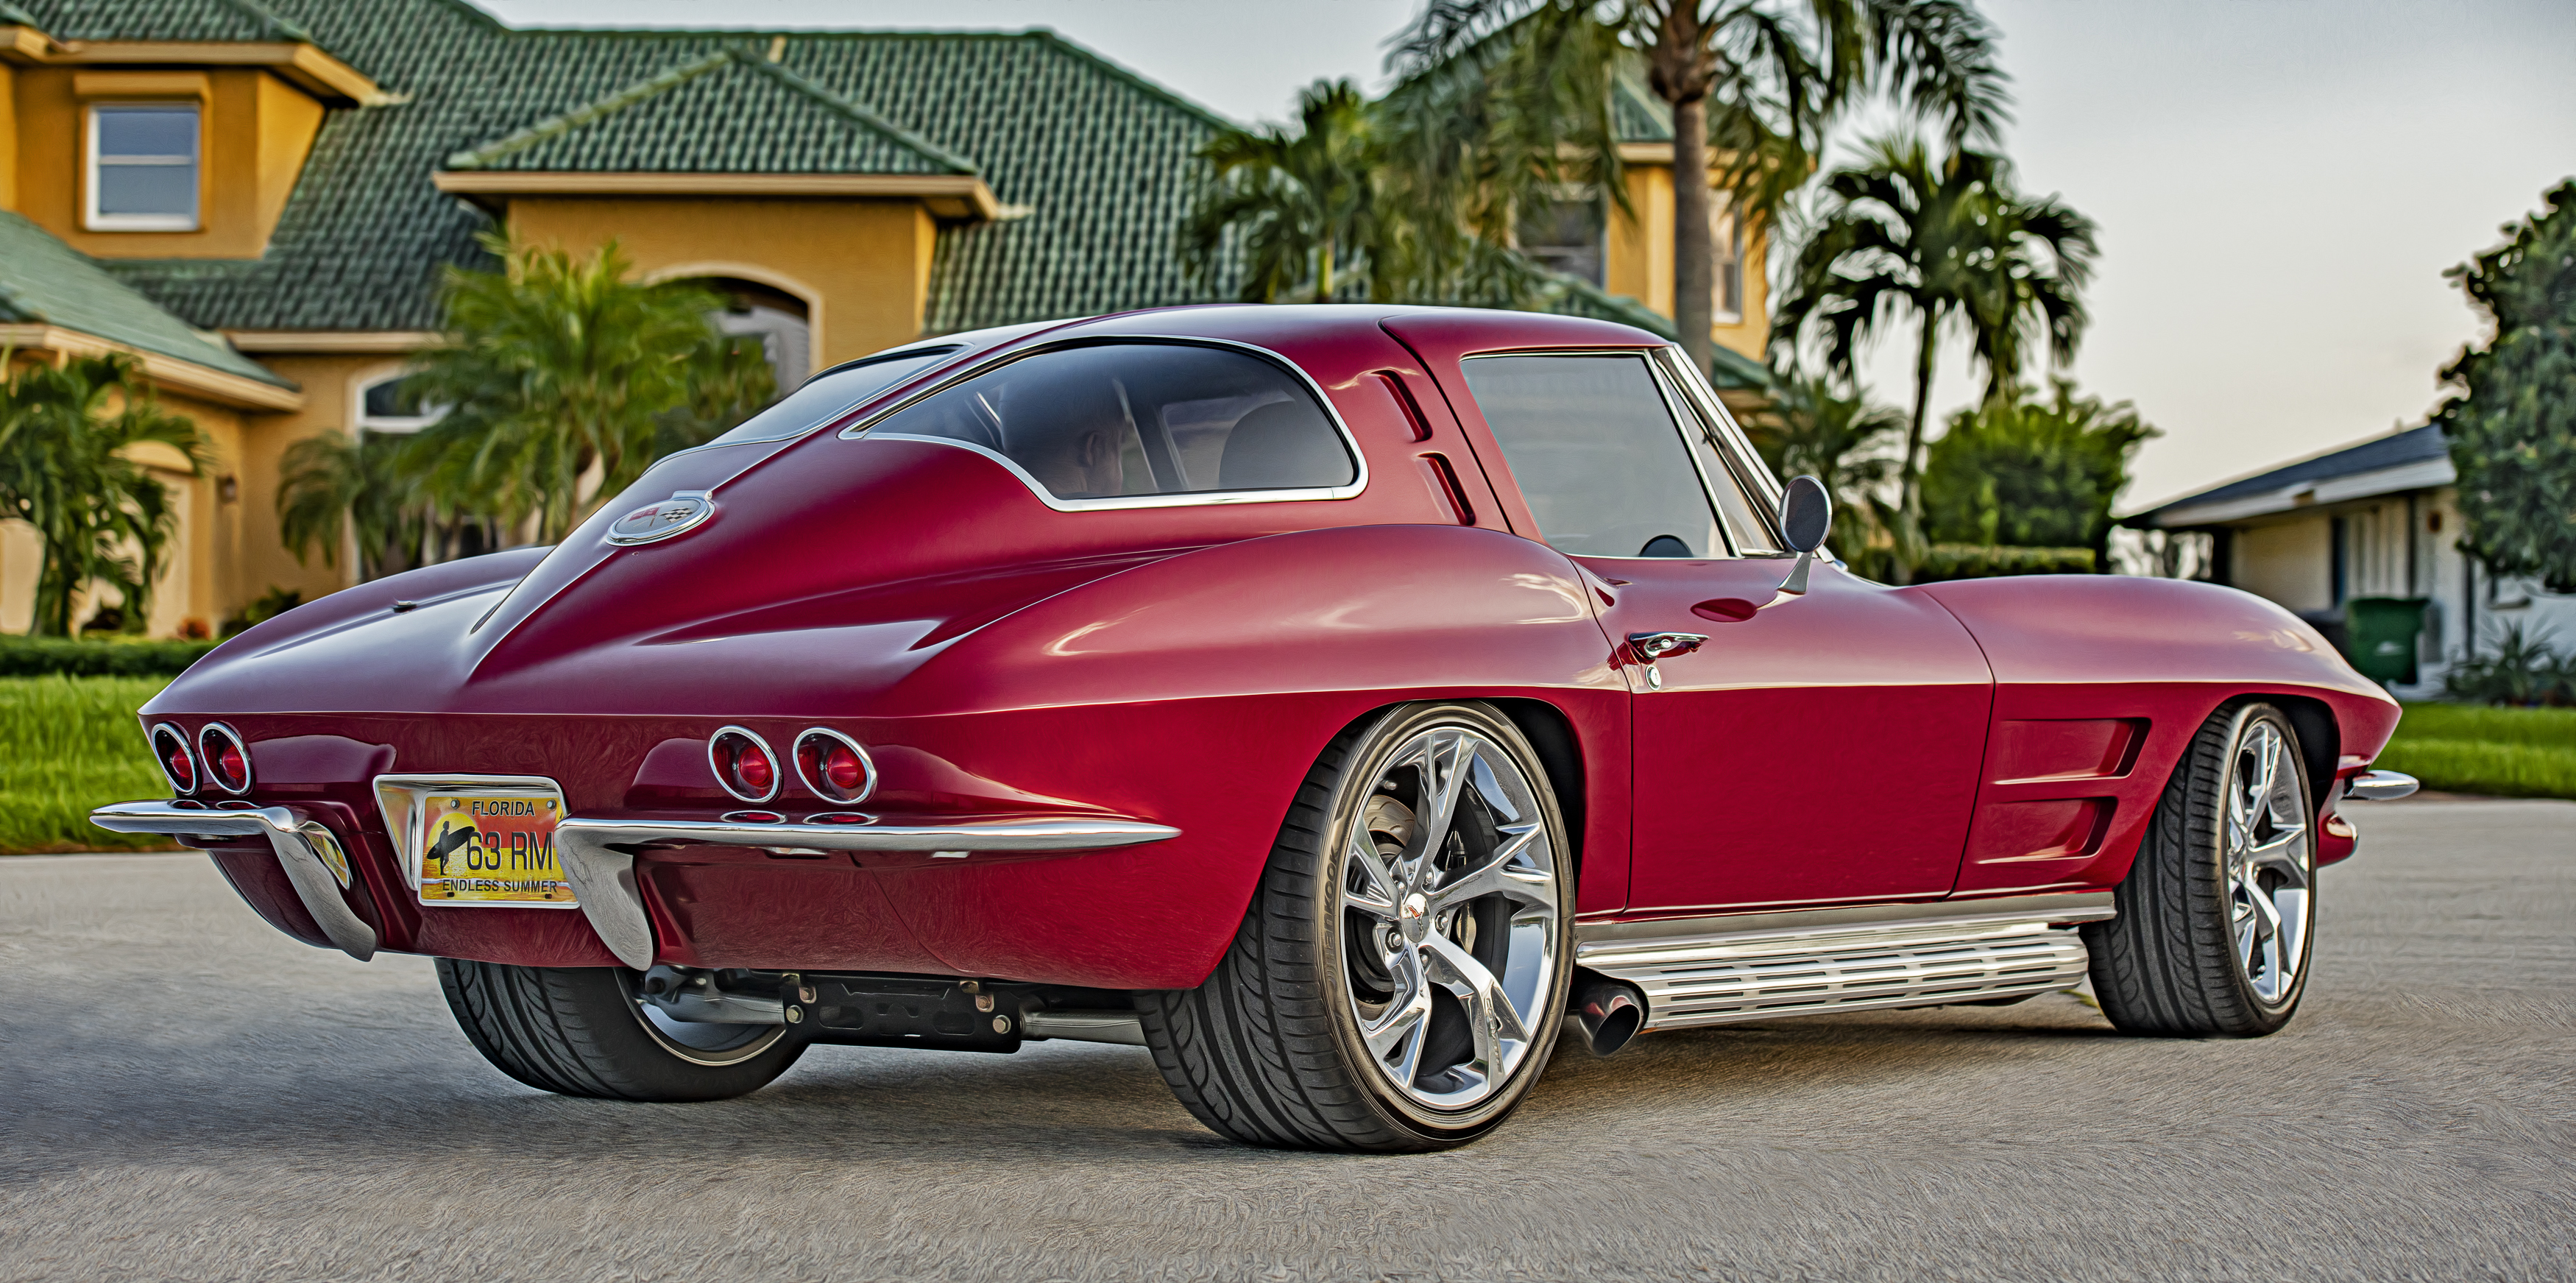
Capturing the right angles on the car, matching it with the correct background and light, is essential for a successful car photo shoot.
Key Takeaways
-
Timing defines quality: The hour after sunrise and before sunset is ideal for car photography to limit the intense glare and shadows caused by midday sun.
-
Preparation is non-negotiable: Start with a spotless car. Nothing ruins a great car shot faster than dirt, smudges, or streaks. Even the tiniest speck can show up in high-definition pictures, making a sleek vehicle look dirty. Clean and detail the car before you do anything else.
-
Software choices shape your final image: Adobe Photoshop is the industry-standard tool for precise retouching, compositing, and enhancement; Capture One Pro is the professional RAW editor optimised for tethered studio shooting and colour-accurate editing; and Adobe Lightroom Classic is the batch organiser and editor designed for managing and enhancing large image collections efficiently.
-
Location must match the car's character: Consider the character of the car and match it with an appropriate backdrop, urban environments can highlight sleek, modern designs, winding roads are perfect for showcasing performance and agility, and picturesque landscapes can emphasise elegance and luxury.
Quick-Start Prioritisation Framework
| Shoot Type | Best For | Effort Level | Time to Results |
|---|---|---|---|
| Golden hour outdoor shoot | Most cars and budgets | Low | Same day |
| Collector / vintage car shoot | Classic car owners, events | Medium | 1-2 days with editing |
| Exotic / supercar session | Commissioned or portfolio work | High | 2-5 days with retouching |
| Car meet / show photography | Enthusiasts building a portfolio | Low-Medium | Same day |
| Full commercial studio shoot | Brands, dealerships, advertising | Very High | 1-2 weeks |
Start here if you're:
-
A first-time enthusiast: A simple golden hour outdoor session with a clean car and a mirrorless camera gives you professional-looking results for minimal cost.
-
A collector car owner: Plan a dedicated shoot on private land or a scenic road with a specialist automotive photographer who understands your vehicle's history and details.
-
Commissioning commercial work: Budget for a full production team, location permits, and professional editing, and speak to specialists like Baldino Automotive who understand what premium automotive imagery demands.
Pre-Shoot Planning: Where Great Car Photos Actually Begin
Research the Vehicle and Scout the Location
I've found that the photographers who produce the most consistent results arrive at a shoot knowing as much about the car as the owner does. Every car has a story to tell, and as a car photographer, it's your job to unveil that story through your lens. You can't tell that story if you're unfamiliar with its details, so in the days leading up to each shoot, take the time to research the car you'll be photographing.
Location scouting is equally important. Different locations will work better for different cars. A Jeep might be best suited for rocky terrain, while a low-ground car might shine on a city street. If you're photographing a Jeep that does well off the beaten path, you might want to take it onto some rocky terrain, safety permitting. On the other hand, a car built low to the ground might look best on a smooth city street or in front of an old brick wall by a factory.
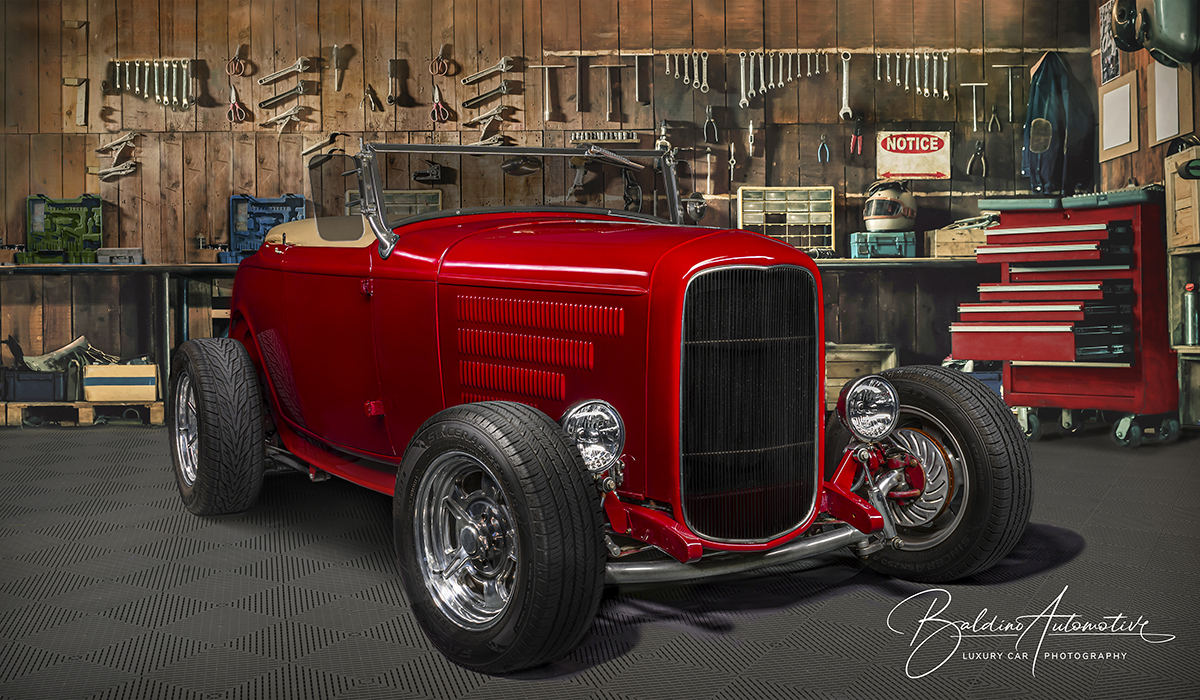
For collector cars and vintage models, match the backdrop to the era. Location is key to the outcome of your photo session. Look for locations that emit the same style or character as the car. Think about historic places when taking pictures of vintage cars, and modern or urban places for exotic cars to show them off at their best.
Preparing the Car: The Foundation of Every Great Photograph
One of the biggest misconceptions about automotive photography is that great images begin when the camera comes out. In reality, they begin long before the first frame is captured.
No amount of professional lighting or careful editing can hide a vehicle that hasn't been properly prepared. Dust, fingerprints, water spots, and even small imperfections become surprisingly noticeable in high-resolution photographs, especially on dark paint and glossy finishes.
Before every session, I encourage owners to spend time preparing their vehicle. A thorough wash, careful detailing, clean wheels, spotless glass, and a final inspection of the paintwork all make a tremendous difference. These details may seem small in person, but they have a significant impact once the camera is pointed at the car.
Preparation doesn't just make the vehicle look better-it allows me to concentrate on what matters most: finding the right light, controlling reflections, and creating photographs that truly showcase the character of the automobile.
Pro tip: I always recommend arriving with the car completely finished before the scheduled start time. Every minute spent removing fingerprints or cleaning wheels is a minute that could have been spent photographing your vehicle in the best available light. The camera sees everything. A fingerprint that goes unnoticed in the garage can become the first thing your eye notices in a finished photograph. Spending extra time preparing the vehicle allows the photography to showcase the craftsmanship of the car rather than its distractions.
Mastering Light: The Single Most Important Variable
Golden Hour and Blue Hour Explained
The golden hour in car photography refers to the period shortly after sunrise and before sunset when sunlight is soft and warm. This ideal lighting condition is perfect for automotive photography, offering beautiful natural light that enhances car colors and textures.. Golden hour occurs twice each day: just after sunrise and shortly before sunset. During these times, the sun is low in the sky, and its light travels through a greater thickness of the Earth's atmosphere, diffusing the sunlight, reducing harsh shadows and creating a warm, golden glow.
For practical camera settings during this window, use a low ISO of 100 to 400 to minimise noise, an aperture between f/5.6 and f/11 for good depth of field, and a shutter speed of 1/60 to 1/250 seconds. These form a solid starting point regardless of the vehicle.
The blue hour, which happens just before sunrise and after sunset, provides a cooler and more subdued light. This period is excellent for capturing dynamic contrast between the car and the ambient light, producing moody and atmospheric shots. If you are shooting a dark-coloured supercar and want drama, the blue hour is your ally.
Managing Reflections and Harsh Light
If you're after professional car photos, you must carefully control what is reflected in the car. One of the most important things you want to show in your car pictures is the design lines, yet reflections can spoil these lines very quickly. So before you capture a single photo, have a look around you, then look closely at the car and see what reflects off its surface.
Contrasting the car's hue and shade with the background can enhance its visual impact. Darker cars look great against brighter backgrounds, while brighter cars may benefit from shooting in darker spots.. "Darker cars look great against brighter backgrounds," says Li. "If I'm shooting cars that are brighter, like an orange car; I would shoot in a darker spot, either during sunset or where there's a shadow."
Pro tip: Cloudy days are great for automobile photography since they equally diffuse light, creating a natural softbox. An overcast sky removes one of the most frustrating variables, direct sun reflections, and gives you clean, even light across the entire body of the car.
Composition and Camera Technique: The Car Photo Composition Guide
Angles That Elevate Any Shoot
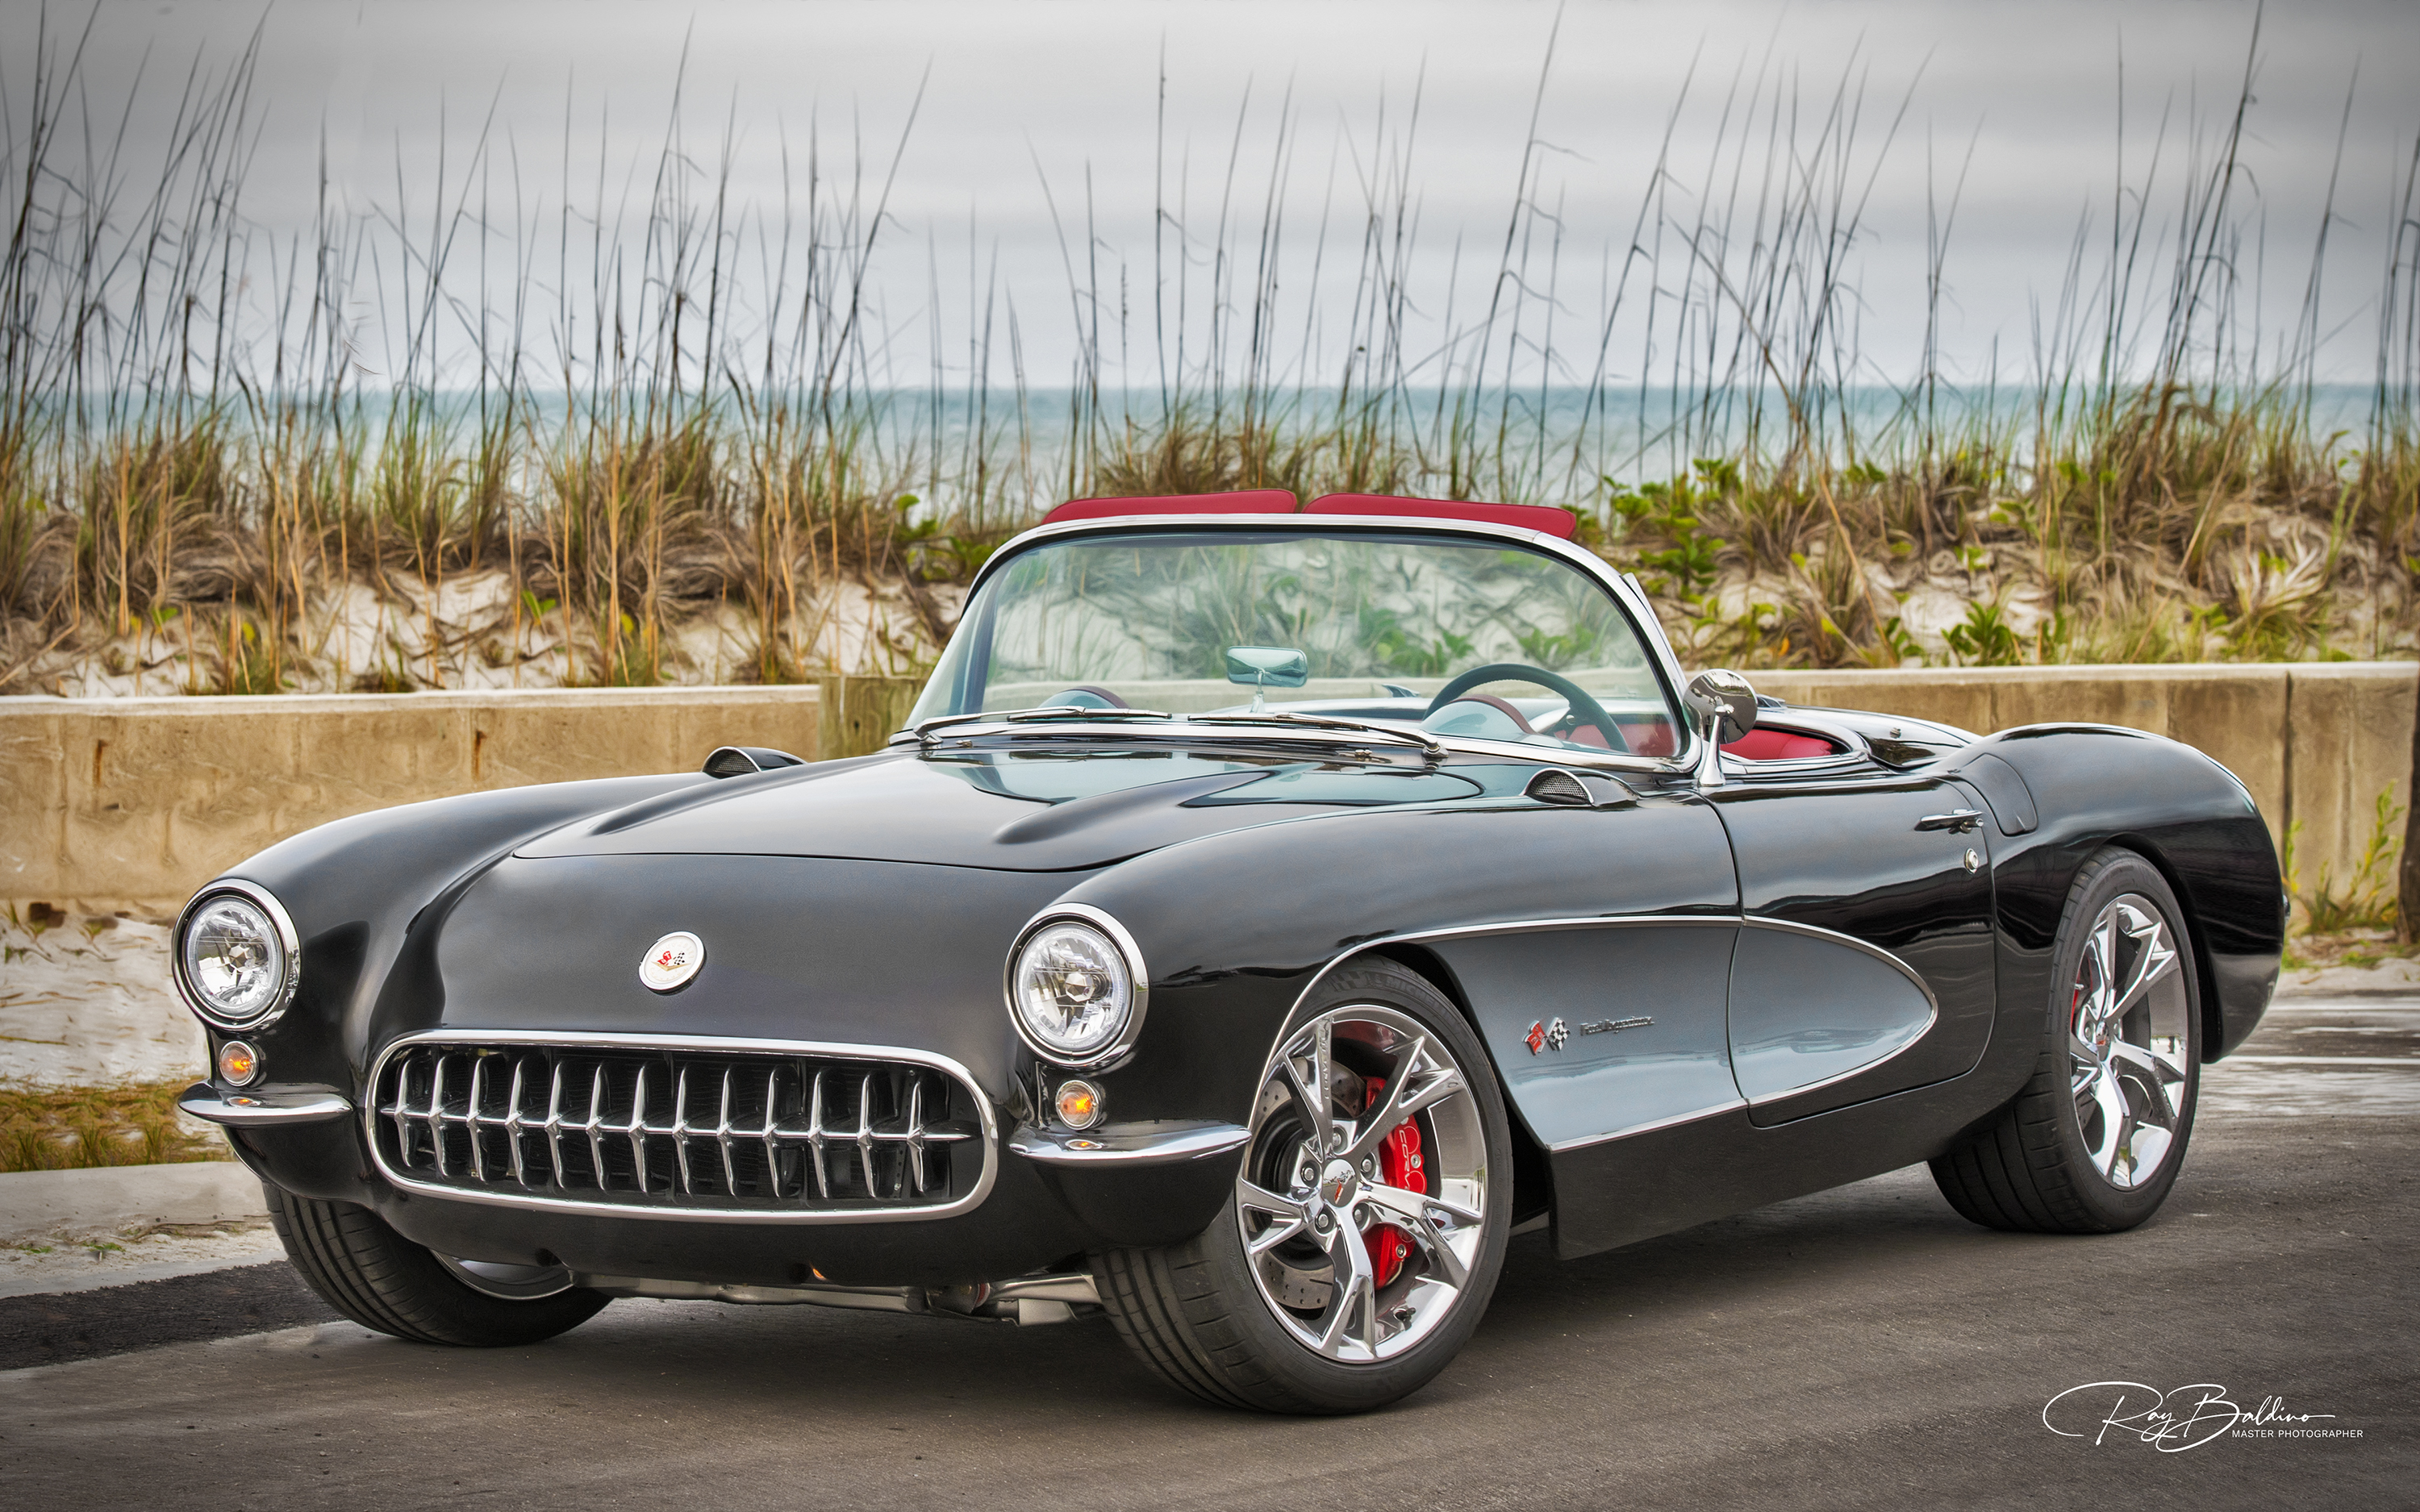
Angles define how powerful, sleek or aggressive a car appears in your photos. Shooting from eye level is the most common mistake; it often makes the car look ordinary. Lower angles tend to work much better because they make the car appear more powerful and aggressive. A three-quarter angle from the front is one of the most effective perspectives, as it captures both the front design and the side profile in a single frame.
A good car photography guide recommends a front three-quarter hero shot that shows the grille, headlights, and part of the side, and a rear three-quarter that captures the taillights and body lines with depth. Once you have those hero frames in the bag, go further.
For detail and interior work, As photographer Aedan Petty puts of the headlights, front badge, side skirts, and mirrors, and get in tight on any details that make the car unique. On supercars and exotics, these detail shots are often the most shared images on social media.
Composition Rules Worth Following
Composition in car photography involves arranging elements within the frame to create visually striking images. Applying classic photography rules, such as the rule of thirds, can help position the car dynamically rather than centered, resulting in more engaging automotive photographs.
Strong composition is a key part of advanced automotive photography techniques. Leading lines help direct the viewer's eye naturally toward the car, making the image more engaging and intentional. Roads, lane markings, bridges, and architectural lines all serve this purpose well.
The 20-60-20 compositional rule from Spyne's car photography guide is a practical framework: 20% sky, 60% subject, and 20% ground. It creates a balanced, visually appealing frame that keeps attention firmly on the vehicle.
Shooting Exotic, Luxury, and Collector Cars
The Specialist Mindset for High-Value Vehicles
In my experience, the approach to a collector car photo shoot differs fundamentally from a standard shoot. The owner's emotional connection to the vehicle is part of the story, and your images need to honour that. Establishing a connection and scheduling a shoot requires research on timing and location. Discussing the car's make, model, and details with the owner can greatly enhance the shoot. Talk with your client about the make, model, and colour of their car so you can plan ahead. They may have special modifications and details they'd like you to capture during the shoot.
For exotic car and supercar photography, treat every reflective surface as a canvas. Think of the car as a simple object that has various surfaces which reflect light. I call that specular light, and it has to be shaped and captured, this is what defines the curves of the vehicle. Black paint can be one of the most rewarding-and challenging-surfaces to photograph. Before I ever lift the camera, I'm already looking at what the car is reflecting. Sometimes moving the vehicle just a few feet completely changes the image.
How to Shoot Car Meets and Events
Car meets are an underrated training ground. Shooting during golden hour makes any car look epic. The hour after sunrise and before sunset provides soft, warm light that limits intense glare and shadows caused by midday sun. Arriving early and staying late at car meets offers the widest array of situations to get unique shots that most other shooters at the same meet might not possibly capture.
Close-up car photography details are a great way to obscure big crowds or ugly backgrounds when shooting in museums or at car meets. When you cannot control the background, which is often the case at busy meets, fill the frame with interesting details to avoid the clutter entirely.
Pro tip: At events, a circular polarising filter is almost essential. A circular polarising filter is essential at events. CPL filters give photographers control over reflections and improve colours in real time, helping to reduce glare on windshields and paintwork. Cars are extremely reflective, and the CPL helps control reflections on paint and glass throughout the shoot.
The Car Photo Shoot Cost Guide: What Should You Budget?
Understanding pricing helps you make an informed decision about where to invest. Prices for car photography vary by location as a result of several factors. A professional car photographer will typically cost roughly $500 for an hour in the US market.
A standard car shoot that includes basic lighting and moderate editing costs around $1300. A premium shoot with advanced gear, professional-grade lighting, and extensive post-editing could easily exceed $1,500. Therefore, if you are commissioning a collector car photo shoot or exotic car photo session where the images will be used commercially, budget at the upper end of this scale and treat the investment as brand positioning rather than a one-off expense.
Car photography should never be priced only by the time spent taking photos. A proper quote should also include planning, travel, location preparation, shooting time, editing, revisions, equipment use, file delivery, and licensing. Always clarify usage rights before signing off on a package.
The Car Photo Editing Guide: Turning Raw Files Into Finished Images
What the Editing Process Actually Involves
Colour grading allows you to unify the scene and evoke a specific mood, giving your images a refined and cohesive look, a trick often used by professionals to achieve an ultra-cinematic effect. You can also dodge and burn the car to add dimensionality, and adding a subtle vignette draws the viewer's focus toward the car.
For exotic car retouching and supercar photo editing, the detail work goes further still. Photoshop's Content-Aware Fill and healing tools excel at removing unwanted reflections, scratches, or environmental distractions from vehicle surfaces, while advanced masking capabilities and perspective correction tools ensure showroom-quality results.
Always shoot in RAW format. The RAW format is best for editing because it retains maximum detail and allows better control over exposure, colour, and lighting adjustments. Shooting in JPEG locks in decisions you cannot undo in post.
Common Mistakes That Undermine an Otherwise Good Shoot
-
Shooting at midday without shade or diffusion, creating blown-out highlights and deep shadows across the bodywork.
-
Failing to clean the car thoroughly before a high-definition shoot, where even minor dust particles become visible at full resolution.
-
Positioning the car so that the photographer, other vehicles, or cluttered backgrounds reflect in the paintwork.
-
Shooting exclusively from eye level, which makes almost every car look flat and uninspiring.
-
Over-editing images to the point that the car's paint loses its natural metallic quality. Editing should enhance the photo not change it completely. A few small adjustments can help the car look sharper and more polished without losing its natural appeal. The goal is to improve what's already there, not to create something unrealistic.
-
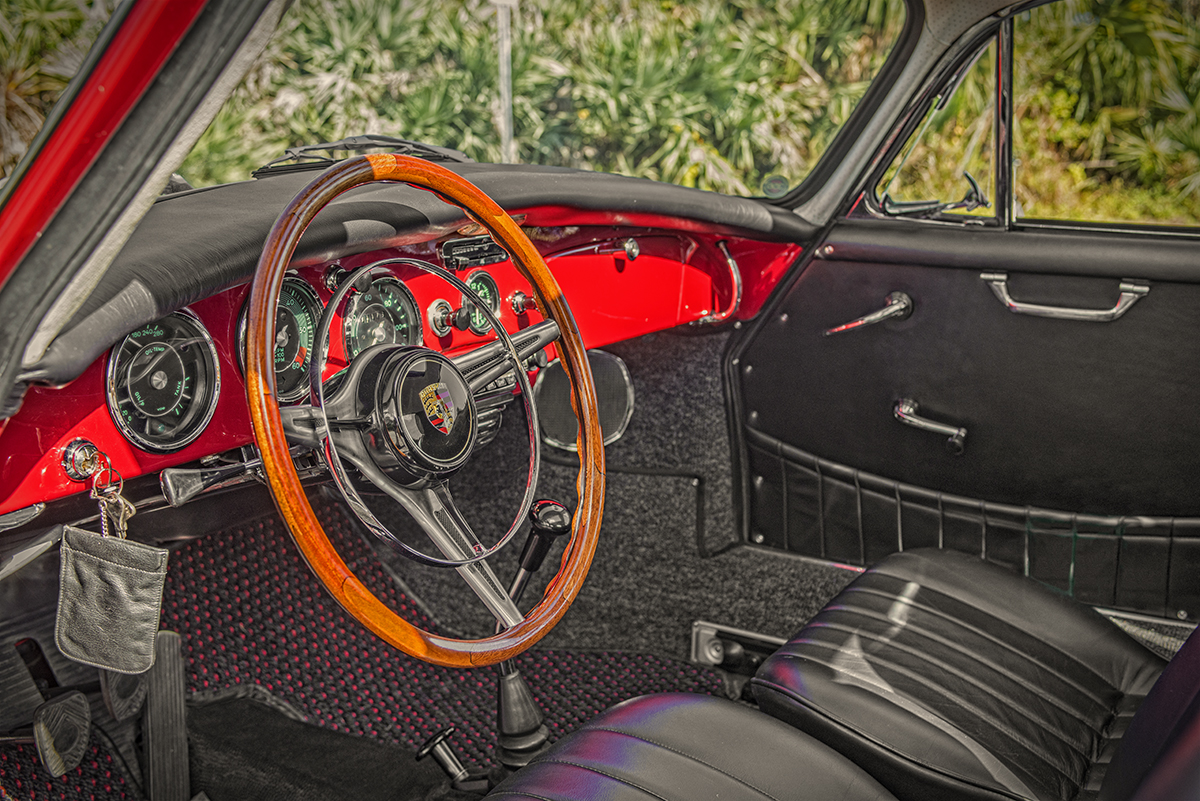
Ignoring the interior. Detail shots are vital for capturing interiors. Get close and shoot elements like the steering wheel, entertainment system, and seats. For most interior photos, choose a slower shutter speed since the inside of a car is likely to be darker.
Frequently Asked Questions
What is the best time of day for a car photo shoot?
The best time for car photography is during the golden hour, which occurs shortly after sunrise and just before sunset. This time provides soft, warm lighting that enhances the car's features and reduces harsh shadows. Overcast conditions also work well as the clouds act as a giant natural diffuser, producing even light across the whole vehicle.
How much does a professional car photo shoot cost?
Every project is different. The vehicle, location, intended use of the images, and level of production all influence the final investment. Rather than thinking only about the session itself, think about creating photographs that you'll still be proud to display years from now.
How do I find cars to photograph if I'm building a portfolio?
Once connections are established and a shoot is scheduled, a successful session will require thorough research on timing and location. Find car shows or vintage vehicle meetups near you and bring your camera. Building genuine relationships within the enthusiast community is far more effective than cold outreach, and events like local meets, Cars and Coffee mornings, and concours weekends offer access to extraordinary vehicles. Services like Baldino Automotive work within the specialist automotive world and are well placed to connect the right photographers with the right cars.
Sources
-
Complete Guide to Car Photography in 2025, SimpSocial. Techniques, timing, and gear advice for automotive photography. https://simpsocial.com/blog/complete-guide-to-car-photography-in-2025/
-
Car Photography Tips and How-To Guide, Adobe. Angles, lighting, location, and gear for car shoots. As photographer Aedan Petty puts
-
Car Photography: 18 Tips for Breathtaking Images, Digital Photography School. Advanced techniques including reflections, panning, and colour grading. https://digital-photography-school.com/7-tips-taking-better-photographs-cars/
-
Guide to Car Photography 2025, Spyne.ai. Composition, motion, and consistency best practices. https://www.spyne.ai/blogs/car-photography-guide
-
Golden Hour Car Photoshoot Tips, ProEdu. Camera settings, light management, and post-processing for golden hour shoots. https://proedu.com/blogs/photography-fundamentals/golden-hour-car-photoshoot-tips-and-feedback
-
Car Photography in Spring: Golden Hour Tips, Jaunt. ISO, aperture, and shutter speed guidance for golden hour automotive photography. https://www.jaunt.co.uk/blog/car-photography-in-spring
